If you want to know how to clean your Windows 11 computer thoroughly, this is your guide. By following these simple steps, you will eliminate unnecessary programs or applications by default. To properly clean your computer, this is what you should do.
By “cleaning” your computer, we mean cleaning your operating system, freeing up and organizing the different programs to gain space and fluidity. It is a type of maintenance you must carry out from time to time to keep your PC fast and free of files that you do not need.
This guide explains the different processes of a simple and fast follow-up to make your computer work much better.
Clean Up Your Windows 11 Computer
First, you must uninstall those programs that you do not use. For this, you can enter “Settings” and click on “Applications “. A menu will appear on the right side with several options, and you must choose “Applications and features” that appears first.
A screen will appear with all the applications you have installed and a search engine to make it faster to find specific programs you want to do without. To remove a program, you have to click on the three points to the right of the application and choose the option “Uninstall”. Always be careful not to remove useful tools or Microsoft programs that nurture the system’s main functions.
Sometimes, this Windows 11 uninstall option does not work to eliminate certain applications, which happens, for example, with those installed by downloading a .exe file. For this type, programs resort to the traditional option, which is to search for “Control Panel” in the Windows bar and choose the option “Uninstall a program”.
This option is available from other versions of Windows and is also quite easy to use. You can search for the tool or program you want to remove and double click to start uninstalling it. Sometimes it will be the program itself that will eliminate it, and other times, native tabs will open to confirm the action.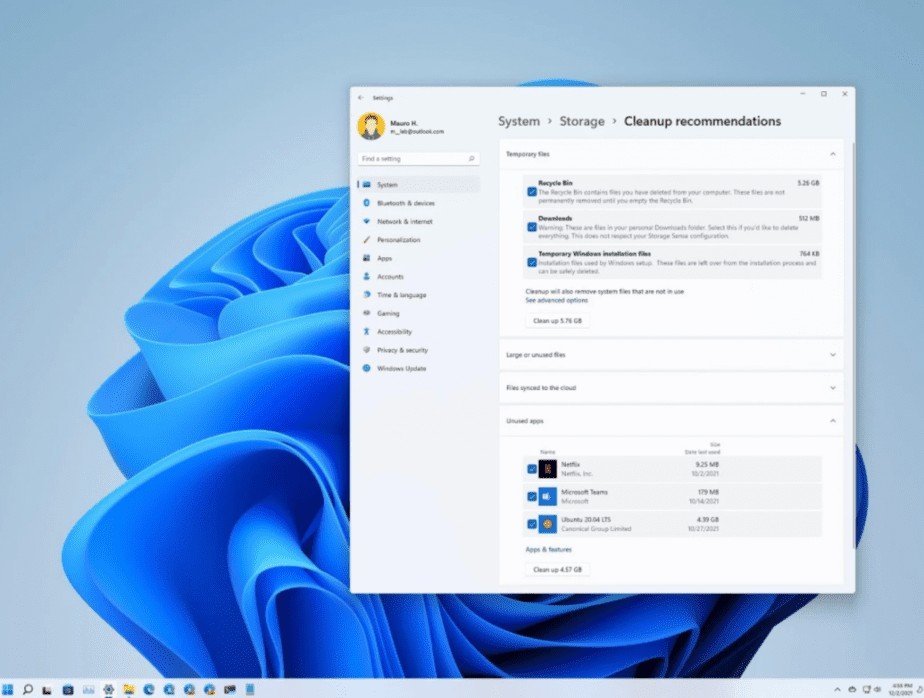
Delete Apps to Free Up Space on Windows 11
Another useful step for saving space is to delete the apps that are taking up the most space in your system. In this way, you can decide whether it is worth keeping or removing them. To do this, you must enter the configuration and access the ” System” section, and choose the “Storage ” option.
In this section, you can check how much space each application occupies. If you click on the ” Applications and features” option, the complete list of applications will appear that you can sort from largest to smallest according to the space they are occupying. If you see a tool that is taking up too much space and you prefer to do without it, you just have to click on the three dots next to the program’s name and choose the “Uninstall” option.
They are very simple and fast processes good to carry out from time to time as part of the internal maintenance of your computer. If you also want to gain space and fluidity quickly and effectively, this is the perfect guide to help you improve these aspects on your Windows 11 PC. Clean your computer with these simple steps, you will notice it!
